Create a Next.js wallet connector
This guide explains how to create a Next.js application that connects to the Midnight Lace wallet using the DApp Connector API. You'll build a wallet connection button that displays connection status, providing a foundation for building more complex DApps.
The code examples focus on core functionality and intentionally omit CSS styling. You can add your preferred styling solution such as Tailwind, styled-components, or CSS modules to match your application's design.
Prerequisites
Before you begin, make sure you have:
- Basic knowledge of TypeScript and JavaScript
- Familiarity with React and Next.js fundamentals
- Node.js and npm installed on your system
- Midnight Lace wallet extension installed in your browser
Set up a Next.js project
If you don't have a Next.js project yet, create one using the following command:
npm create-next-app@latest <project-name>
When prompted, select the following options:
- TypeScript: Yes
- ESLint: Yes
- Tailwind CSS: Yes (optional, but recommended)
- App Router: Yes
- Other options: Choose based on your preference
Then navigate to the project directory and install the DApp Connector API package:
cd <project-name>
npm install @midnight-ntwrk/dapp-connector-api
This guide uses the DApp Connector API v4.0.0. For more information, see the DApp Connector API documentation.
After completing this tutorial, you'll understand:
- How to integrate wallet connections in Next.js applications
- The differences between client and server components when working with wallets
- How to manage wallet state in Next.js
- Best practices for using the DApp Connector API in Next.js
Create the wallet connection component
You'll build a client-side component that handles wallet connection. Since wallet interactions require browser APIs, this component must run on the client side using Next.js's "use client" directive.
Create app/components/ConnectWalletButton.tsx:
"use client"; // Next.js directive for client-side rendering

import { useState } from "react";
import "@midnight-ntwrk/dapp-connector-api";
import type { InitialAPI } from "@midnight-ntwrk/dapp-connector-api";

export default function ConnectWalletButton() {
  const [connected, setConnected] = useState(false);
  const [walletAddress, setWalletAddress] = useState<string | null>(null);

  const handleConnect = async () => {
    try {
      // Access the Midnight Lace wallet through the window object
      const wallet: InitialAPI = await window.midnight!.mnLace;

      // Connect to the specified network (use 'undeployed' for local development)
      const connectedApi = await wallet.connect('undeployed');

      // Retrieve the shielded addresses from the wallet
      const addresses = await connectedApi.getShieldedAddresses();
      const address = addresses.shieldedAddress;

      // Check if the connection is established
      const connectionStatus = await connectedApi.getConnectionStatus();

      if (connectionStatus) {
        setConnected(true);
        setWalletAddress(address);
        console.log("Connected to wallet:", address);
      }
    } catch (error) {
      console.log("Failed to connect:", error);
    }
  };

  const handleDisconnect = () => {
    setConnected(false);
    setWalletAddress(null);
  };

  return (
    <nav className="flex items-center w-full p-4">
      <div className="ml-auto flex flex-col items-end gap-2">
        {connected && walletAddress && (
          <div className="text-sm text-gray-600">
            {walletAddress.slice(0, 8)}...{walletAddress.slice(-6)}
          </div>
        )}
        <button
          type="button"
          onClick={connected ? handleDisconnect : handleConnect}
          className="px-4 py-2 rounded-lg bg-black text-white hover:bg-gray-800 transition-colors"
        >
          {connected ? "Disconnect" : "Connect Wallet"}
        </button>
      </div>
    </nav>
  );
}
This component manages the wallet connection flow:
- Client-side rendering: The
"use client"directive ensures this component runs in the browser where wallet APIs are available. - State management: Uses React's
useStatehook to track connection status and wallet address. - Connection logic: The
handleConnectfunction accesses the wallet throughwindow.midnight.mnLace, connects to the specified network, and retrieves the wallet's shielded address. - User feedback: Displays the wallet address (truncated) and provides connect/disconnect actions.
Add the component to your layout
Now integrate the wallet button into your application's layout so it appears on every page.
Update app/layout.tsx:
import type { Metadata } from "next";
import "./globals.css";
import ConnectWalletButton from "./components/ConnectWalletButton";

export const metadata: Metadata = {
  title: "Midnight Wallet Connector",
  description: "Connect to Midnight Lace wallet",
};

export default function RootLayout({
  children,
}: {
  children: React.ReactNode;
}) {
  return (
    <html lang="en">
      <body>
        <ConnectWalletButton />
        <main className="container mx-auto px-4 py-8">
          {children}
        </main>
      </body>
    </html>
  );
}
The ConnectWalletButton component now appears at the top of every page in your application. Next.js's layout system makes it easy to create persistent UI elements across routes.
Create a welcome page
Create a simple landing page that encourages users to connect their wallet.
For this, replace the content of app/page.tsx with the following:
export default function Home() {
  return (
    <div className="flex flex-col items-center justify-center min-h-[60vh] text-center">
      <h1 className="text-4xl font-bold mb-4">
        Welcome to Midnight
      </h1>
      <p className="text-lg text-gray-600 mb-8 max-w-2xl">
        Connect your Lace wallet to get started with privacy-preserving
        decentralized applications on the Midnight Network.
      </p>
      <div className="bg-gray-100 p-6 rounded-lg max-w-xl">
        <p className="text-sm text-gray-700">
          Click the "Connect Wallet" button in the top right corner to authorize
          this application to access your Midnight Lace wallet.
        </p>
      </div>
    </div>
  );
}
Run your application
Start the Next.js development server:
npm run dev
Open your browser and navigate to http://localhost:3000.
When you click Connect Wallet, the Midnight Lace wallet extension prompts you to authorize the connection.
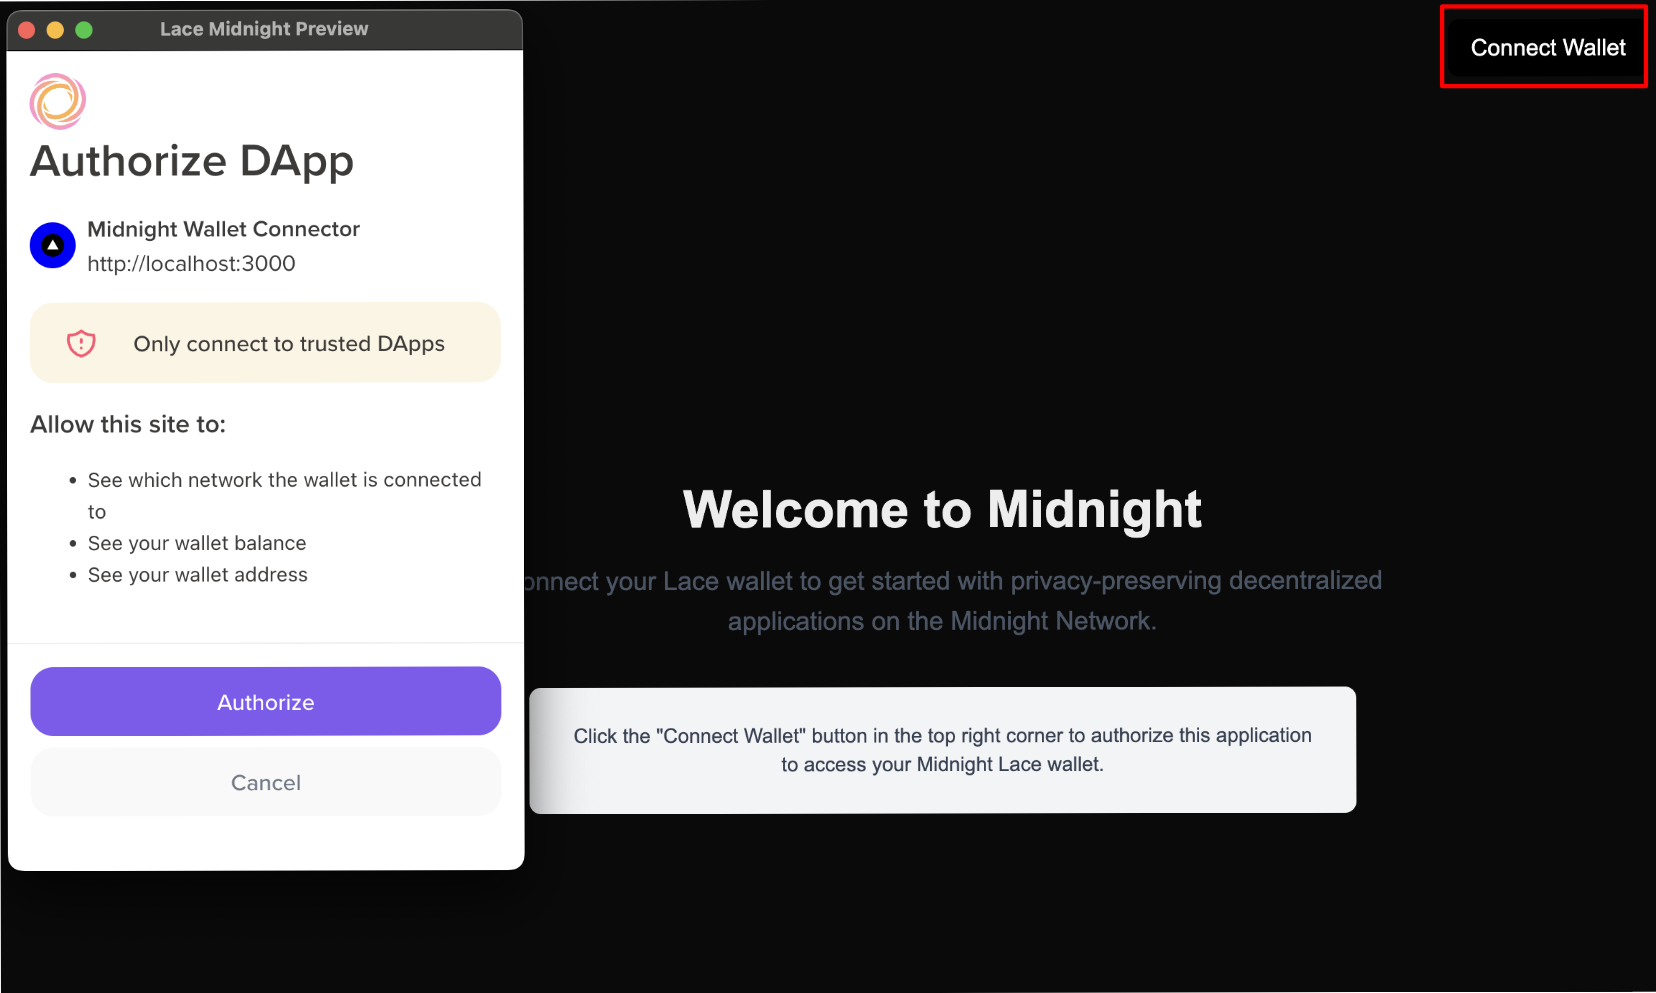
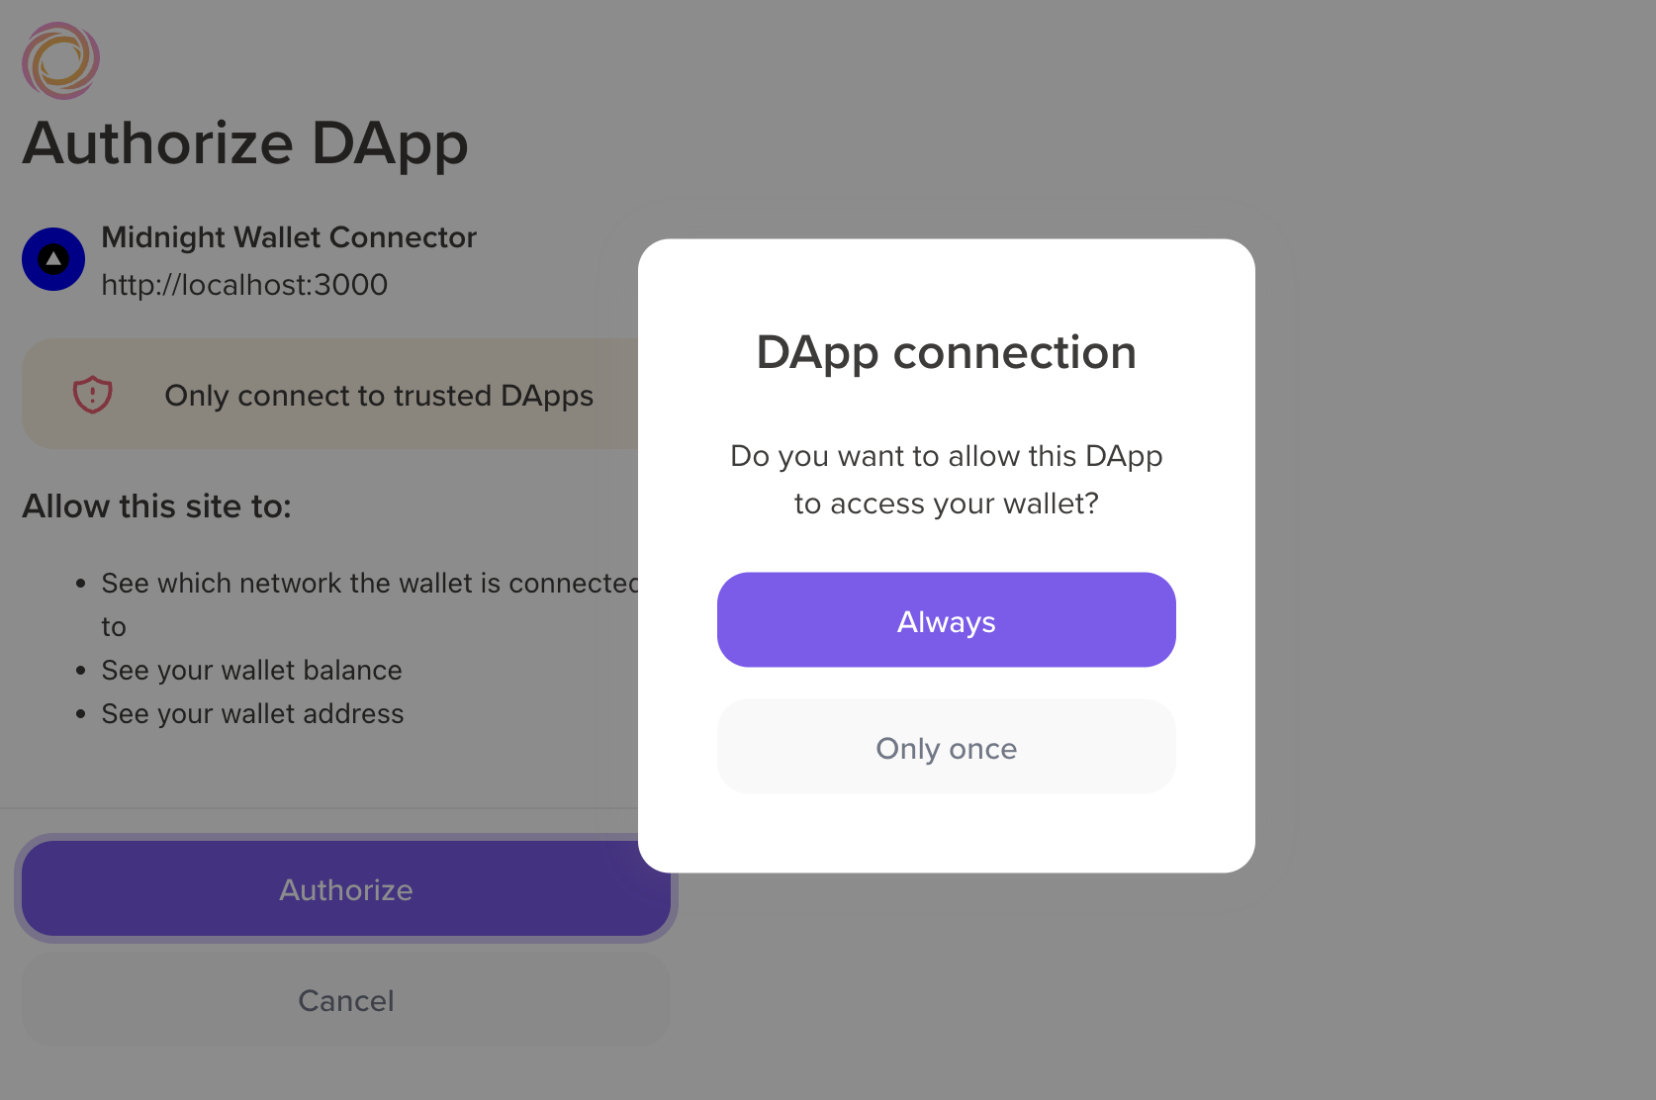
The wallet asks you to choose your preferred authorization level:
- Always: Grants persistent authorization. The application remains authorized even after closing your browser, and you won't need to reconnect on future visits.
- Only once: Grants temporary authorization. You must reauthorize the connection each time you visit the application.
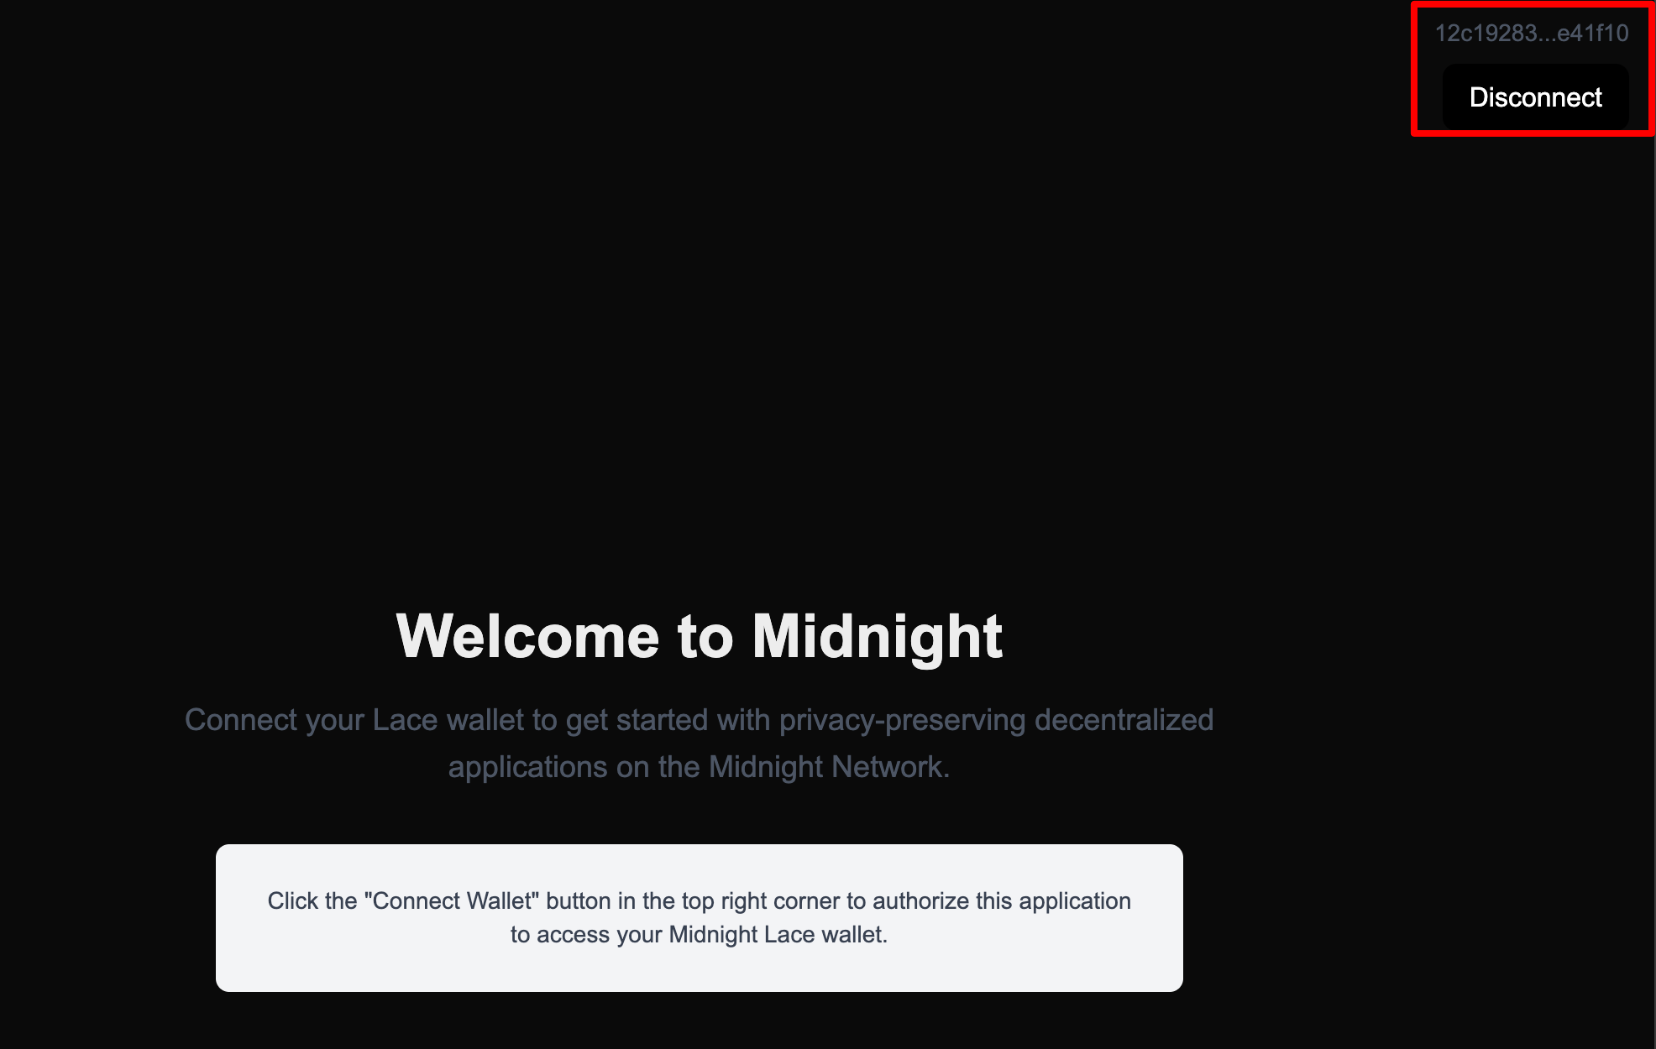
After approval, the button changes to "Disconnect" and displays your truncated wallet address.
Verify the connection
You can verify that your wallet is connected to the application:
- Open the Midnight Lace wallet extension in your browser.
- Click on your wallet name in the top right corner, then select Settings.
- Navigate to Authorized DApps.
You should see http://localhost:3000 listed as an authorized application.
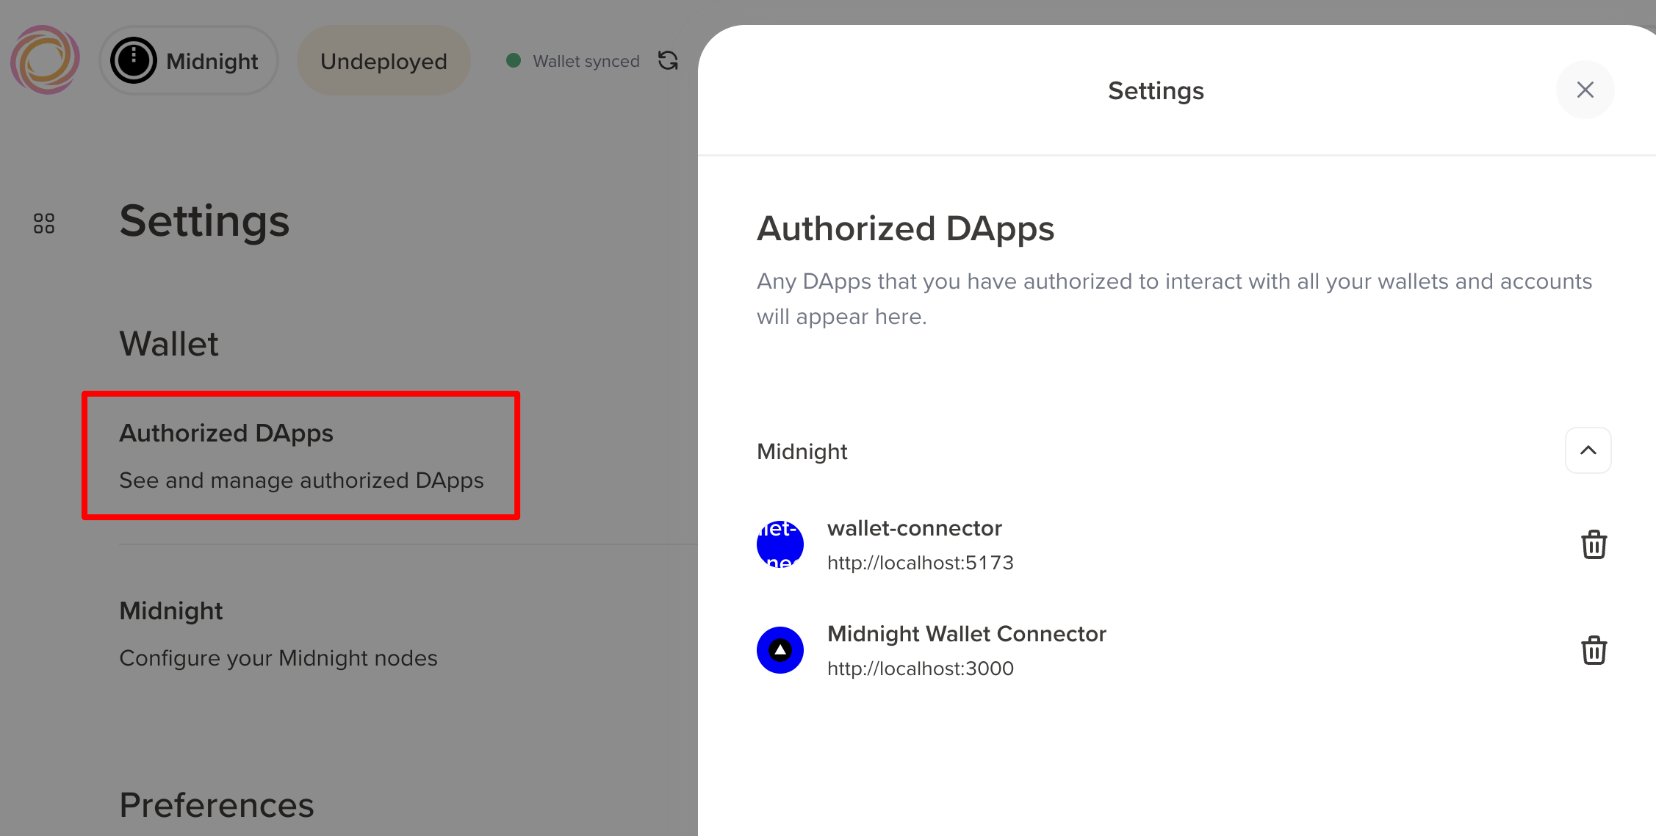
You can revoke access at any time from this panel by clicking the trash icon next to the application.
Troubleshooting
These are some of the common issues you might encounter and how to resolve them.
"window is not defined" error
This error occurs because Next.js tries to render components on the server by default, but wallet APIs only exist in the browser environment.
How to fix it: Make sure your wallet component includes the "use client" directive at the top of the file.
Wallet not detected
This error means the browser cannot access window.midnight, which indicates the Midnight Lace wallet extension is not available.
How to fix it:
- Verify the Midnight Lace wallet extension is installed and enabled.
- Refresh the page after installing the extension.
- Check the browser console for extension-related errors.
- Ensure you're testing in a browser, not during server-side rendering.
Connection fails
This error occurs when the wallet connection attempt is unsuccessful, which can happen for several reasons related to configuration or wallet state.
How to fix it:
- Confirm that you're using the correct network ID.
For local development, use
'undeployed'. For Preprod environment, use'preprod'. - Make sure the Lace wallet is unlocked.
- Check the browser console for specific error messages.
- Verify the DApp Connector API package is correctly installed.
Next steps
Now that you have a working wallet connector in Next.js, you can extend your application:
- Create protected routes: Use Next.js middleware to restrict access to pages that require wallet connection.
- Transfer coins: Build a form that allows users to send tokens to other addresses.
- Display balances: Show the user's token balances on a dashboard page.
- Transaction history: Create a page that queries and displays transaction history.