Create a React wallet connector
For the complete documentation index, see llms.txt
In this guide, you'll create a React application that connects to a Midnight wallet using the DApp Connector API. You'll build a simple interface that displays connection status and wallet addresses, providing a foundation for more complex decentralized applications.
The code examples focus on core functionality and intentionally omit CSS styling. You can add your preferred styling solution (Tailwind, styled-components, CSS modules, etc.) to match your application's design.
Prerequisites
Before you begin, make sure you have:
- Basic knowledge of TypeScript and JavaScript
- Familiarity with React fundamentals (components, state, hooks)
- Node.js and npm installed on your system
- A Midnight wallet extension installed in your browser
Set up a React project
If you don't have a React project yet, create one using Vite:
npm create vite@latest my-wallet-app -- --template react-ts
cd my-wallet-app
Then install the DApp Connector API package:
npm install @midnight-ntwrk/dapp-connector-api
Configure Vite for Midnight packages
The wallet connector in this guide uses only the DApp Connector API, which ships no WASM. As soon as your app pulls in Midnight's SDK packages to work with contracts, such as Midnight.js and its ledger bindings, their wasm-bindgen modules need specific Vite configuration. Without it, the app renders a blank page in development or fails with Cannot access '__wbindgen_start' before initialization. Adding the configuration now keeps your project ready for that step.
Open vite.config.ts and replace its contents with the following:
import { defineConfig } from 'vite';
import react from '@vitejs/plugin-react';

export default defineConfig({
  plugins: [react()],
  optimizeDeps: {
    // Midnight WASM packages use top-level init calls that break
    // when Vite pre-bundles them in dev mode. Excluding them
    // preserves the correct module init order.
    exclude: [
      '@midnight-ntwrk/ledger-v8',
      '@midnight-ntwrk/onchain-runtime-v3',
      '@midnight-ntwrk/zkir-v2',
    ],
  },
});
The package names include the ledger and runtime versions, so they change between SDK releases. For example, @midnight-ntwrk/compact-runtime 0.20 installs @midnightntwrk/onchain-runtime-v4 instead of @midnight-ntwrk/onchain-runtime-v3. After an upgrade, check node_modules and list the WASM packages that your versions install.
Vite's dev-server dependency optimizer eagerly bundles dependencies into single modules. Midnight's WASM glue code calls __wbindgen_start() at the module top level during initialization. Pre-bundling reorders this init sequence, so the page stays blank and the browser console shows the __wbindgen_start error. The optimizeDeps.exclude setting tells Vite to serve these packages unbundled, preserving the correct initialization order. The setting only applies to the dev server, so production builds don't change. Vite 8.1 and later load the WASM modules without a plugin. On Vite 7 and 8.0, also install vite-plugin-wasm and add wasm() to plugins.
If you are working in a monorepo where multiple packages depend on @midnight-ntwrk/compact-runtime, also add resolve.dedupe to prevent WASM dual-instantiation (see the Vite WASM resolution guide for details).
After completing this tutorial, you'll understand:
- The Midnight wallet connection flow
- How to use the DApp Connector API
- Best practices for managing wallet state in React applications
Define TypeScript interfaces
Start by creating type definitions for your components. These interfaces provide type safety and clear contracts between components.
Create a new file types.ts within the src directory and add the following code:
export interface WalletCardProps {
  isConnected: boolean;
  walletAddress: string | null;
  onConnect: () => void;
  onDisconnect: () => void;
}
The WalletCardProps interface defines the shape of data your WalletCard component will receive.
It includes the connection state, the wallet address, and callback functions for connect and disconnect actions.
Create the WalletCard component
Now you'll build the WalletCard component, which displays the wallet connection status and provides connect/disconnect buttons.
Create WalletCard.tsx within the src directory and add the following code:
import React from "react";
import type { WalletCardProps } from "./types";

const WalletCard: React.FC<WalletCardProps> = ({
  isConnected,
  walletAddress,
  onConnect,
  onDisconnect,
}) => {
  return (
    <div>
      <div>
        <h2>Connection Status</h2>
        <div>
          {isConnected ? "Connected" : "Disconnected"}
        </div>
      </div>

      <div>
        {isConnected && walletAddress ? (
          <>
            <p>Wallet Address:</p>
            <p title={walletAddress}>{walletAddress}</p>
          </>
        ) : (
          <p>Please connect your wallet to proceed.</p>
        )}
      </div>

      <div>
        {isConnected ? (
          <button onClick={onDisconnect}>Disconnect Wallet</button>
        ) : (
          <button onClick={onConnect}>Connect Wallet</button>
        )}
      </div>
    </div>
  );
};

export default WalletCard;
This component handles the presentation layer of your wallet connection. It shows the current status, displays the address when connected, and provides appropriate action buttons based on the connection state.
Select a wallet
Wallets inject their Initial API instances under the global window.midnight object, each keyed by a freshly generated UUID rather than a fixed name. A single browser may also have more than one wallet available at once, for example when two wallets are loaded from the same seed phrase. Because of this, you read the entries on window.midnight and choose one, rather than reaching for a hardcoded key.
Create a new file selectWallet.ts within the src directory and add the following code:
import type { InitialAPI } from '@midnight-ntwrk/dapp-connector-api';

export const listWallets = (): InitialAPI[] => {
  const injected = window.midnight;
  return injected ? Object.values(injected) : [];
};

export const selectWallet = (): InitialAPI => {
  const wallets = listWallets();

  if (wallets.length === 0) {
    throw new Error('No Midnight wallet found. Please install a Midnight wallet extension.');
  }

  return wallets[0];
};
The selectWallet function reads the installed wallets and returns the first one, which keeps this example focused on the connection flow. When more than one wallet is available, the DApp Connector API specification expects you to let the user choose rather than picking for them. Use listWallets to render the options, and when displaying each wallet, render its name and icon safely to prevent XSS.
Integrate the DApp Connector API
Next, we'll use the App component to manage the wallet connection logic using the DApp Connector API and the selectWallet helper from the previous step.
Create or open App.tsx within the src directory and replace the existing code with the following:
import React, { useState } from 'react';
import WalletCard from './WalletCard';
import '@midnight-ntwrk/dapp-connector-api';
import { selectWallet } from './selectWallet';

const App: React.FC = () => {
  const [isConnected, setIsConnected] = useState<boolean>(false);
  const [walletAddress, setWalletAddress] = useState<string | null>(null);

  const handleConnect = async () => {
    console.log('Connect button clicked');
    let isConnected = false;
    let address = null;

    try {
      const wallet = selectWallet();

      // Connect to the specified network (use 'undeployed' for local development)
      const connectedApi = await wallet.connect('preprod');

      // Retrieve the unshielded address from the wallet
      const { unshieldedAddress } = await connectedApi.getUnshieldedAddress();
      address = unshieldedAddress;

      // Optional: Get the service URI configuration
      const serviceUriConfig = await connectedApi.getConfiguration();
      console.log('Service URI Config:', serviceUriConfig);

      // Check if the connection is established
      const connectionStatus = await connectedApi.getConnectionStatus();
      if (connectionStatus.status === 'connected') {
        isConnected = true;
        console.log("Connected to the wallet:", address);
      }
    } catch (error) {
      console.log("An error occurred:", error);
    }

    setIsConnected(isConnected);
    setWalletAddress(address);
  };

  const handleDisconnect = () => {
    setWalletAddress(null);
    setIsConnected(false);
  };

  return (
    <div>
      <header>
        <h1>Midnight Wallet Connector</h1>
      </header>
      <main>
        <WalletCard
          isConnected={isConnected}
          walletAddress={walletAddress}
          onConnect={handleConnect}
          onDisconnect={handleDisconnect}
        />
      </main>
    </div>
  );
};

export default App;
Let's break down the wallet connection process:
- Select a wallet: The
selectWallethelper reads the installed wallets fromwindow.midnightand returns one to connect to. It throws if no wallet is found, which the surroundingtry/catchhandles. - Connect to network: Call the
connect()method and pass the network ID as an argument. In our example, we used'preprod'. You can use'undeployed'for local development or'preview'for the Preview network. - Retrieve the address: After connecting to the network, call the
getUnshieldedAddress()method to get the wallet's unshielded address. Request the shielded address only when your application actually needs it. - Check status: Verify the connection with
getConnectionStatus(), which resolves to an object whosestatusis'connected'or'disconnected'.
The handleConnect event handler manages all these steps and updates your component's state accordingly.
When users click the Connect Wallet button, their wallet will prompt them to authorize the connection.
Set up the entry point
Create the entry point that bootstraps your React application. For this, create or open main.tsx within the src directory
and replace the existing code with the following:
import { StrictMode } from 'react';
import { createRoot } from 'react-dom/client';
import App from './App.tsx';

createRoot(document.getElementById('root')!).render(
  <StrictMode>
    <App />
  </StrictMode>,
);
Finally, create or open index.html in the project root and replace the existing code with the following:
<!doctype html>
<html lang="en">
  <head>
    <meta charset="UTF-8" />
    <meta name="viewport" content="width=device-width, initial-scale=1.0" />
    <title>Midnight Wallet Connector</title>
  </head>
  <body>
    <div id="root"></div>
    <script type="module" src="/src/main.tsx"></script>
  </body>
</html>
Run your application
After setting up the entry point, start your development server:
npm run dev
Now, open your browser and navigate to the local development URL (typically http://localhost:5173).
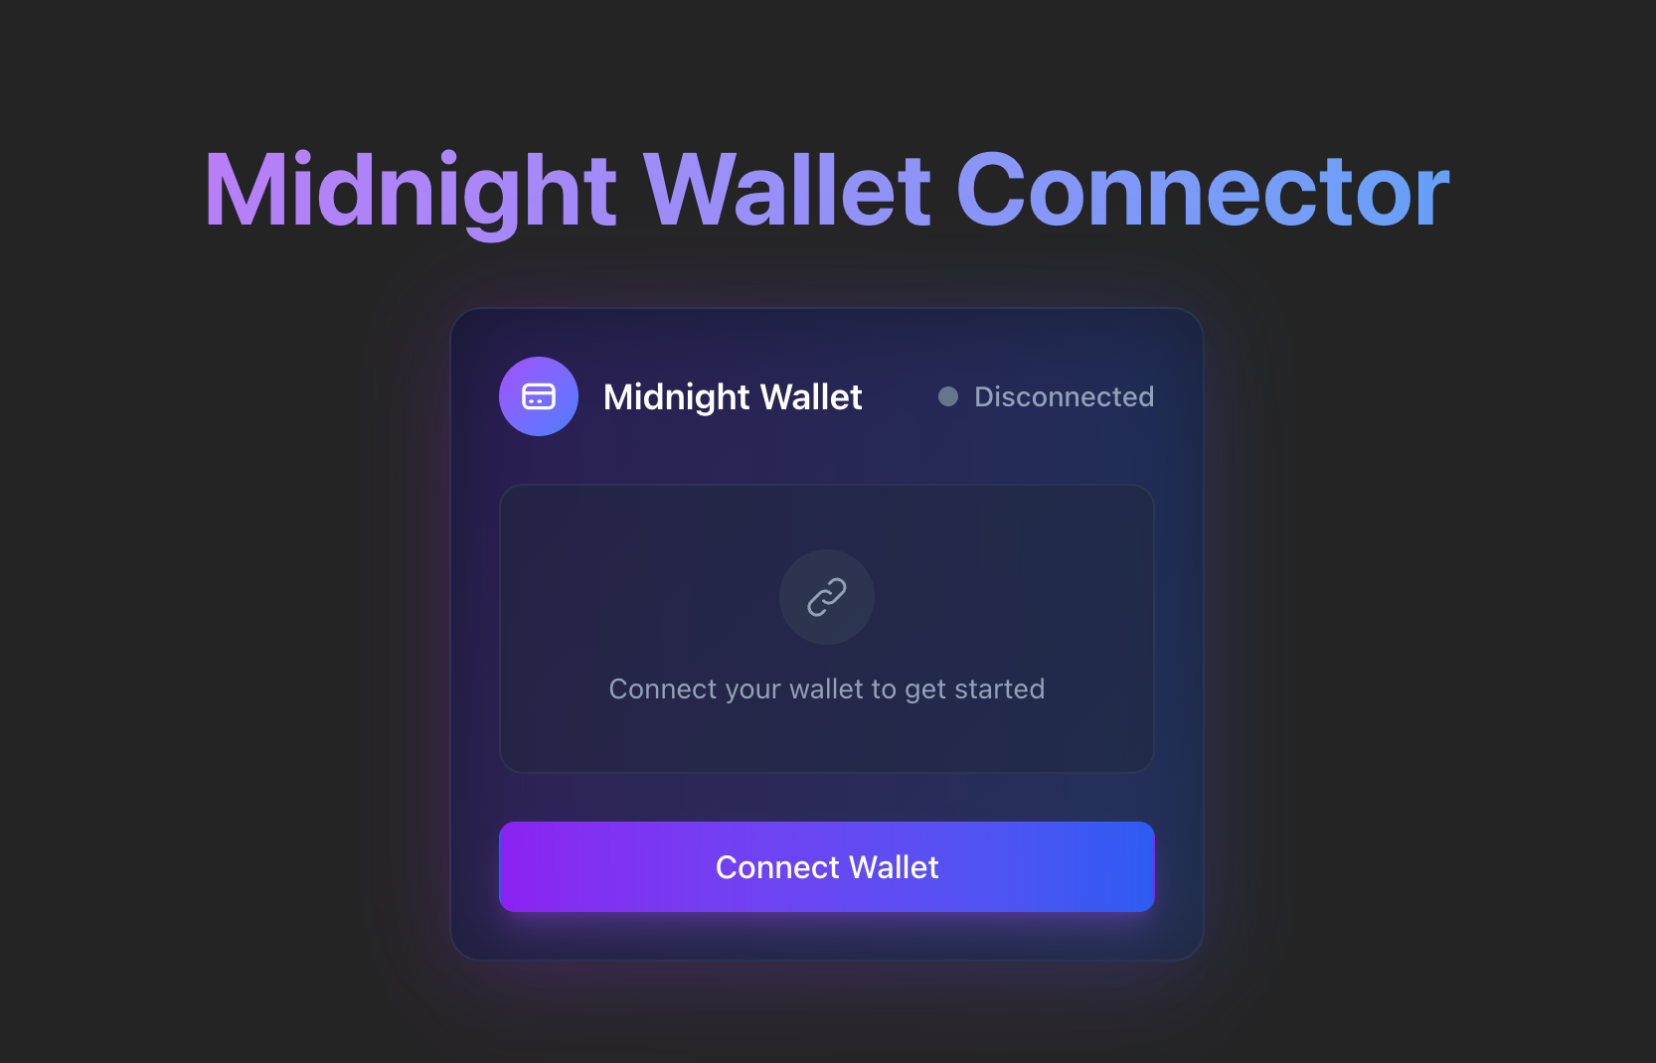
When you click Connect Wallet, your wallet extension will prompt you to authorize the connection.
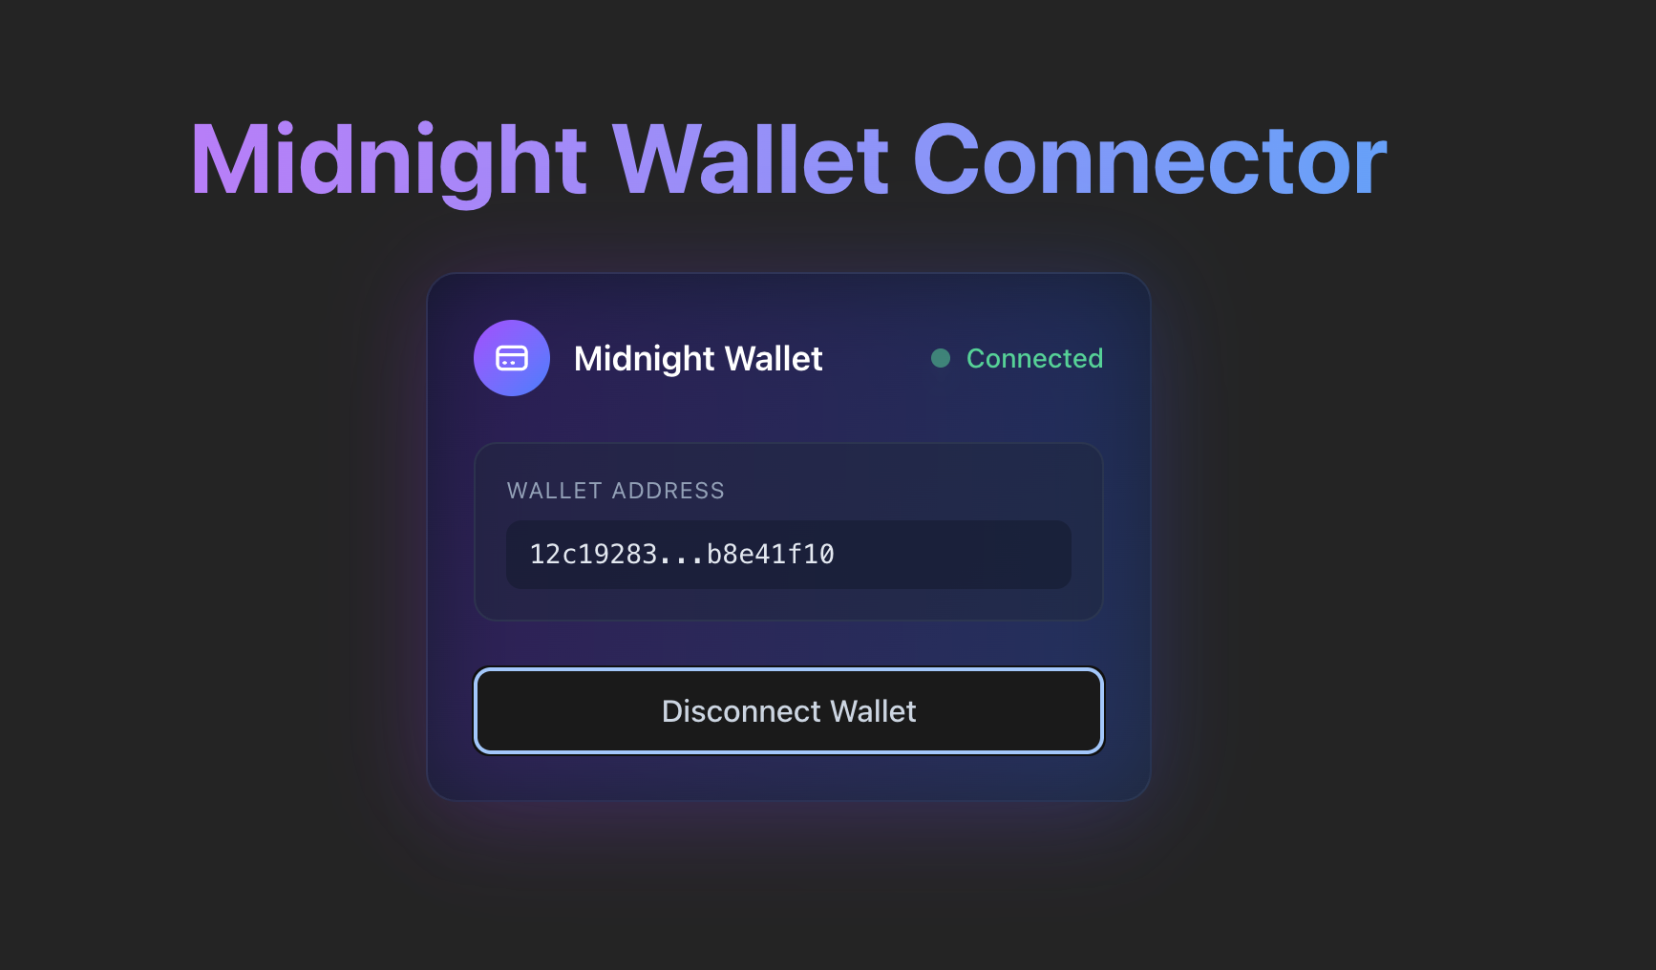
After approval, your application will display the connection status and your wallet's unshielded address.
Troubleshooting
The following are some common issues you might encounter and how to resolve them.
Wallet not detected
If you see errors about window.midnight being undefined, or No Midnight wallet found:
- Verify a Midnight wallet extension is installed and enabled in your browser.
- Refresh the page after installing or enabling the extension.
- Confirm you are reading the wallet from
window.midnightby enumeration (Object.values(window.midnight)) and not from a fixed key such aswindow.midnight.mnLace. Wallets inject their Initial API under a UUID key, so a hardcoded name resolves toundefined. - Check the browser console for any extension-related errors.
Connection fails
If the connection attempt fails:
- Ensure the network ID specified in the
connect()method matches the network ID configured in your wallet. - Check that the wallet is unlocked and synced.
- Review the browser console for specific error messages.
- Verify the DApp Connector API package is correctly installed.
Next steps
Now that you have a working wallet connector, you can extend your application with additional functionality:
- Transfer coins: Implement a form that allows users to send tokens to other addresses.
- Sign messages: Add a text input where users can sign arbitrary messages with their wallet.
- Display balances: Show the user's token balances for different assets.
- Transaction history: Query and display the user's transaction history.
- Multi-network support: Add a network selector to switch between different Midnight networks.